
Print-ready artwork: the essentials for flawless professional printing
Print-ready artwork isn’t just about pretty designs—it’s the backbone of flawless professional printing. Get your files right from the start, and you’ll avoid costly delays, unwanted reprints, and colour surprises. In this guide, you’ll learn the key technical standards, from CMYK colour to bleed and crop marks, that make your artwork print-ready and ensure your brand stands out with every print. Ready to print without the faff? Share your artwork with KS Print Ltd for a quick pre-print review and a free, no-obligation quote.
Understanding Print-ready Artwork
Creating print-ready artwork is crucial to avoid any hiccups during the printing process. This section highlights the key elements that ensure your design is flawless from start to finish.
Key Elements of Print-ready Artwork
To kick things off, let’s talk about what makes artwork truly print-ready. It’s not just about having a beautiful design; it’s about preparing it correctly. Start by ensuring your artwork is in the correct file format. PDFs are often preferred for their consistency across different devices. Make sure your document size matches the final print size to avoid stretching or cropping.
Next, consider the resolution. A minimum of 300 dpi resolution is essential for sharp and clear prints. Lower resolutions might look fine on screen but often result in blurry prints. Finally, don’t forget to embed or outline your fonts. This prevents any font substitutions that could alter your design unexpectedly.
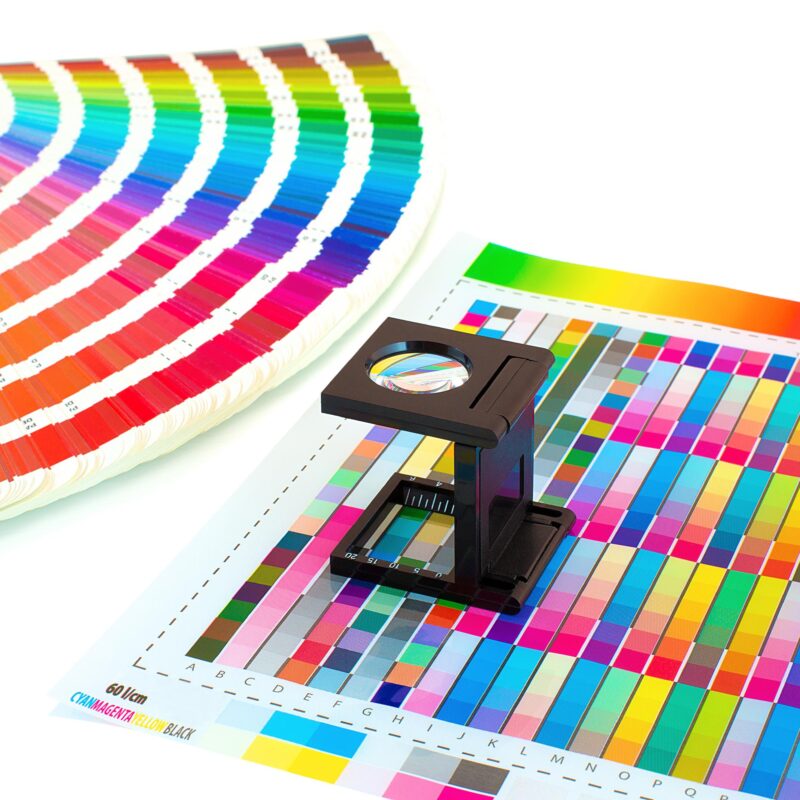
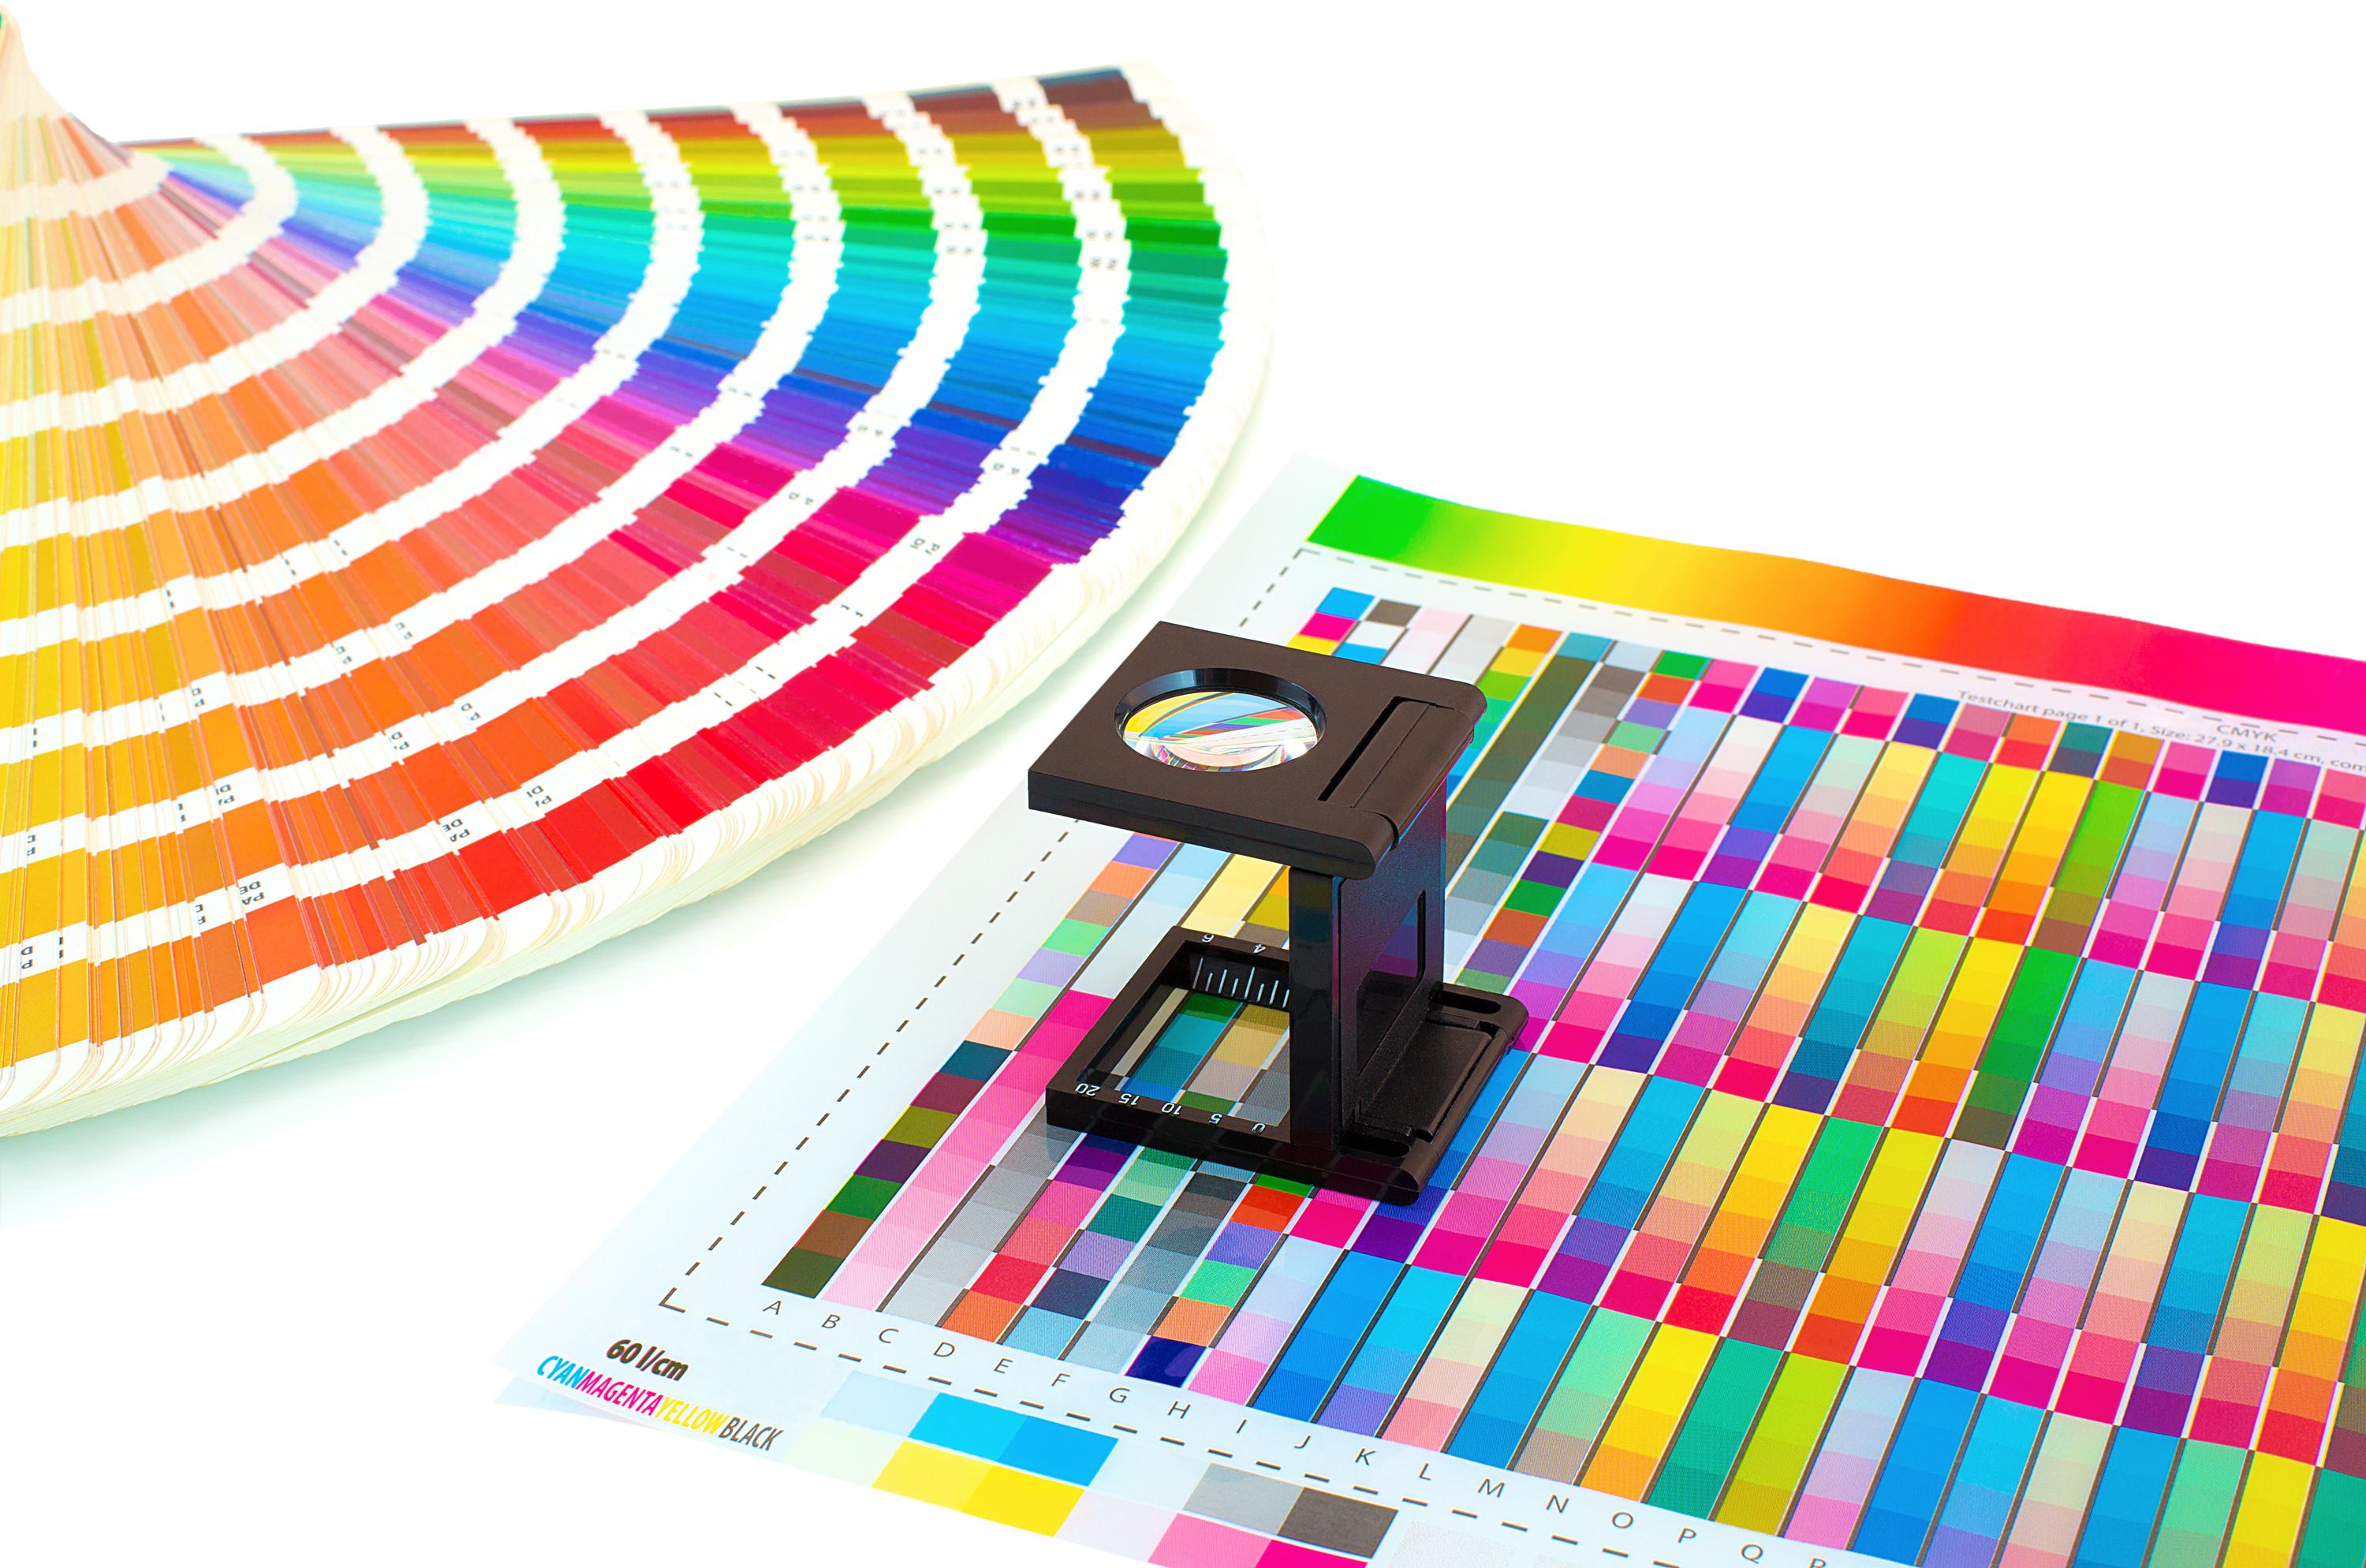
Importance of CMYK Colour
Colour plays a pivotal role in print quality. Most people assume what looks good on screen will print well, but that’s not always the case. On screens, we use RGB colour, which can differ significantly when printed. This is where CMYK comes in: it helps you achieve colours that match your design intentions.
By converting your designs to CMYK colour, you align your work with how printers operate. This is crucial in preventing unexpected colour shifts. You might be surprised at how different a vibrant blue on your screen can look once printed. Want to avoid surprises? Always check your colour profiles and make sure they are set to CMYK before sending your files off for print.
Role of Vector Graphics
Vector graphics are your best friend when it comes to scaling. Unlike raster images, vectors can be resized without losing quality. This is essential for large prints, like banners or posters. Imagine stretching a small image to fit a large banner; the result can be a pixelated mess.
Vectors, however, retain their crisp edges and detail, no matter the size. This makes them ideal for logos and other design elements that need to look sharp at any scale. If you’re not using vectors yet, it might be time to start. You’ll save yourself a lot of trouble and keep your designs looking professional.
Preparing for Professional Printing
Now that your artwork is in order, it’s time to prepare for the actual printing process. This involves a few steps to ensure everything goes smoothly when it hits the press.
Prepress Checklist Essentials
Before sending your files off, run through a prepress checklist. This is your safeguard against common printing issues. First, ensure your document size and orientation are correct. It’s easy to overlook but can cause major headaches if wrong. Second, double-check your colour settings. As mentioned, CMYK is the way to go.
Third, review your resolution. Keep it at 300 dpi resolution or higher to maintain image quality. Finally, inspect your file for any hidden layers or objects that shouldn’t be there. A clean file is a happy file! These small checks can save you time and stress in the long run.
Importance of Bleed and Crop Marks
When preparing your files, don’t overlook bleed and crop marks. These elements ensure your design prints right to the edge without any unwanted white borders. A bleed is extra space beyond your document’s edge, usually around 3mm. This allows for slight shifts during cutting.
Meanwhile, crop marks indicate where the printer should cut your design. Without them, your prints might end up uneven or misaligned. It’s a minor detail but one that makes a big difference in the final product’s appearance. Always include bleed and crop marks in your files for a professional finish.
Safe Area and Design Margins
Design margins and safe areas are often underestimated but vital for keeping essential elements intact. The safe area is the zone you want to keep all crucial information within, like text or logos. This prevents them from being cut off during trimming.
Margins, on the other hand, provide a buffer zone to avoid crowding your design. It’s tempting to fill every inch, but leaving some space can make your design more visually appealing and balanced. Keep your important elements well within the safe area and give your design some room to breathe with proper margins.
Ensuring Flawless Print Quality

With your files prepped and ready, the next step is guaranteeing top-notch print quality. This section covers standards and practices to ensure your prints turn out as expected.
High-resolution Printing UK Standards
In the UK, high-resolution printing standards are paramount for achieving a professional finish. Remember, 300 dpi resolution is the minimum requirement for print quality. Anything less might result in blurry or pixelated images, especially in larger formats like posters or banners.
The type of paper you choose also affects print quality. Glossy papers enhance colours, while matte papers offer a more subtle finish. Both have their place, depending on the look you’re going for. Selecting the right paper type is as important as the resolution itself in ensuring a polished output.
File Formats for Print Explained
Choosing the right file format can make or break your print project. PDFs are the go-to choice for most printers due to their reliability. They preserve your design’s integrity across different devices, ensuring your colours and fonts remain consistent.
Other formats like TIFF and EPS are also popular for high-quality prints. These formats support layers and transparency, which can be crucial for some designs. Always check with your printer to see which formats they prefer to avoid any conversion issues later on.
Proofing and Approval Process
The final step before hitting print is proofing. This step is essential for catching any last-minute errors. Print a proof to see how your design looks in real life. Sometimes, what looks perfect on screen might not translate well to paper.
Check for colour accuracy, alignment, and any unexpected elements. Getting a second pair of eyes to review your proof can also be helpful. Once everything looks good, give your approval, and you’re ready to go. This thorough review process ensures your final prints meet your expectations without any costly surprises.

