

How to prepare print‑ready artwork for a smoother order with KS Print
Most print orders stall because artwork isn’t set up right from the start. If your files miss key details like CMYK colour setup or correct bleed and safe areas, expect delays and unexpected costs. This guide will walk you through preparing print-ready artwork that cuts errors and speeds up production with KS Print Ltd, so your banners, packaging, and stationery arrive on time and look sharp.
Preparing Print-Ready Artwork
To ensure a smooth print process, getting your artwork right is key. Here’s how to prepare your files for top-notch results with KS Print Ltd.
Understanding CMYK Colour Setup
Your artwork’s colours need to match what comes off the printer. CMYK stands for cyan, magenta, yellow, and key (black), which are the inks most printers use. Make sure your design is in this colour mode to avoid unexpected hues.
Many design programs default to RGB, which is meant for screens. Switching to CMYK will give you a preview of how colours will actually print. This way, when your banners and stationery are produced, they’ll look as vibrant as you imagined. For more tips on preparing your art, check out this guide.
Ensuring 300 DPI Resolution
Resolution is crucial for print clarity. 300 DPI (dots per inch) is the standard for quality prints. Lower resolutions can lead to blurry images, which is the last thing you want for your professional materials.
Double-check your images’ DPI before sending them to the printer. Most design software lets you set or check this easily in the image size settings. Your brochures and posters will thank you with crisp, clear visuals.
Choosing the Right File Formats
File format can impact the print outcome, too. PDFs are typically the safest choice, maintaining quality across different devices and printers. They lock in fonts and graphics, ensuring your artwork prints as intended.
If your design includes layers or transparency, consider saving a copy as a TIFF or PNG, which preserves these elements. This step can prevent mishaps during the print process.
Mastering Artwork Dimensions
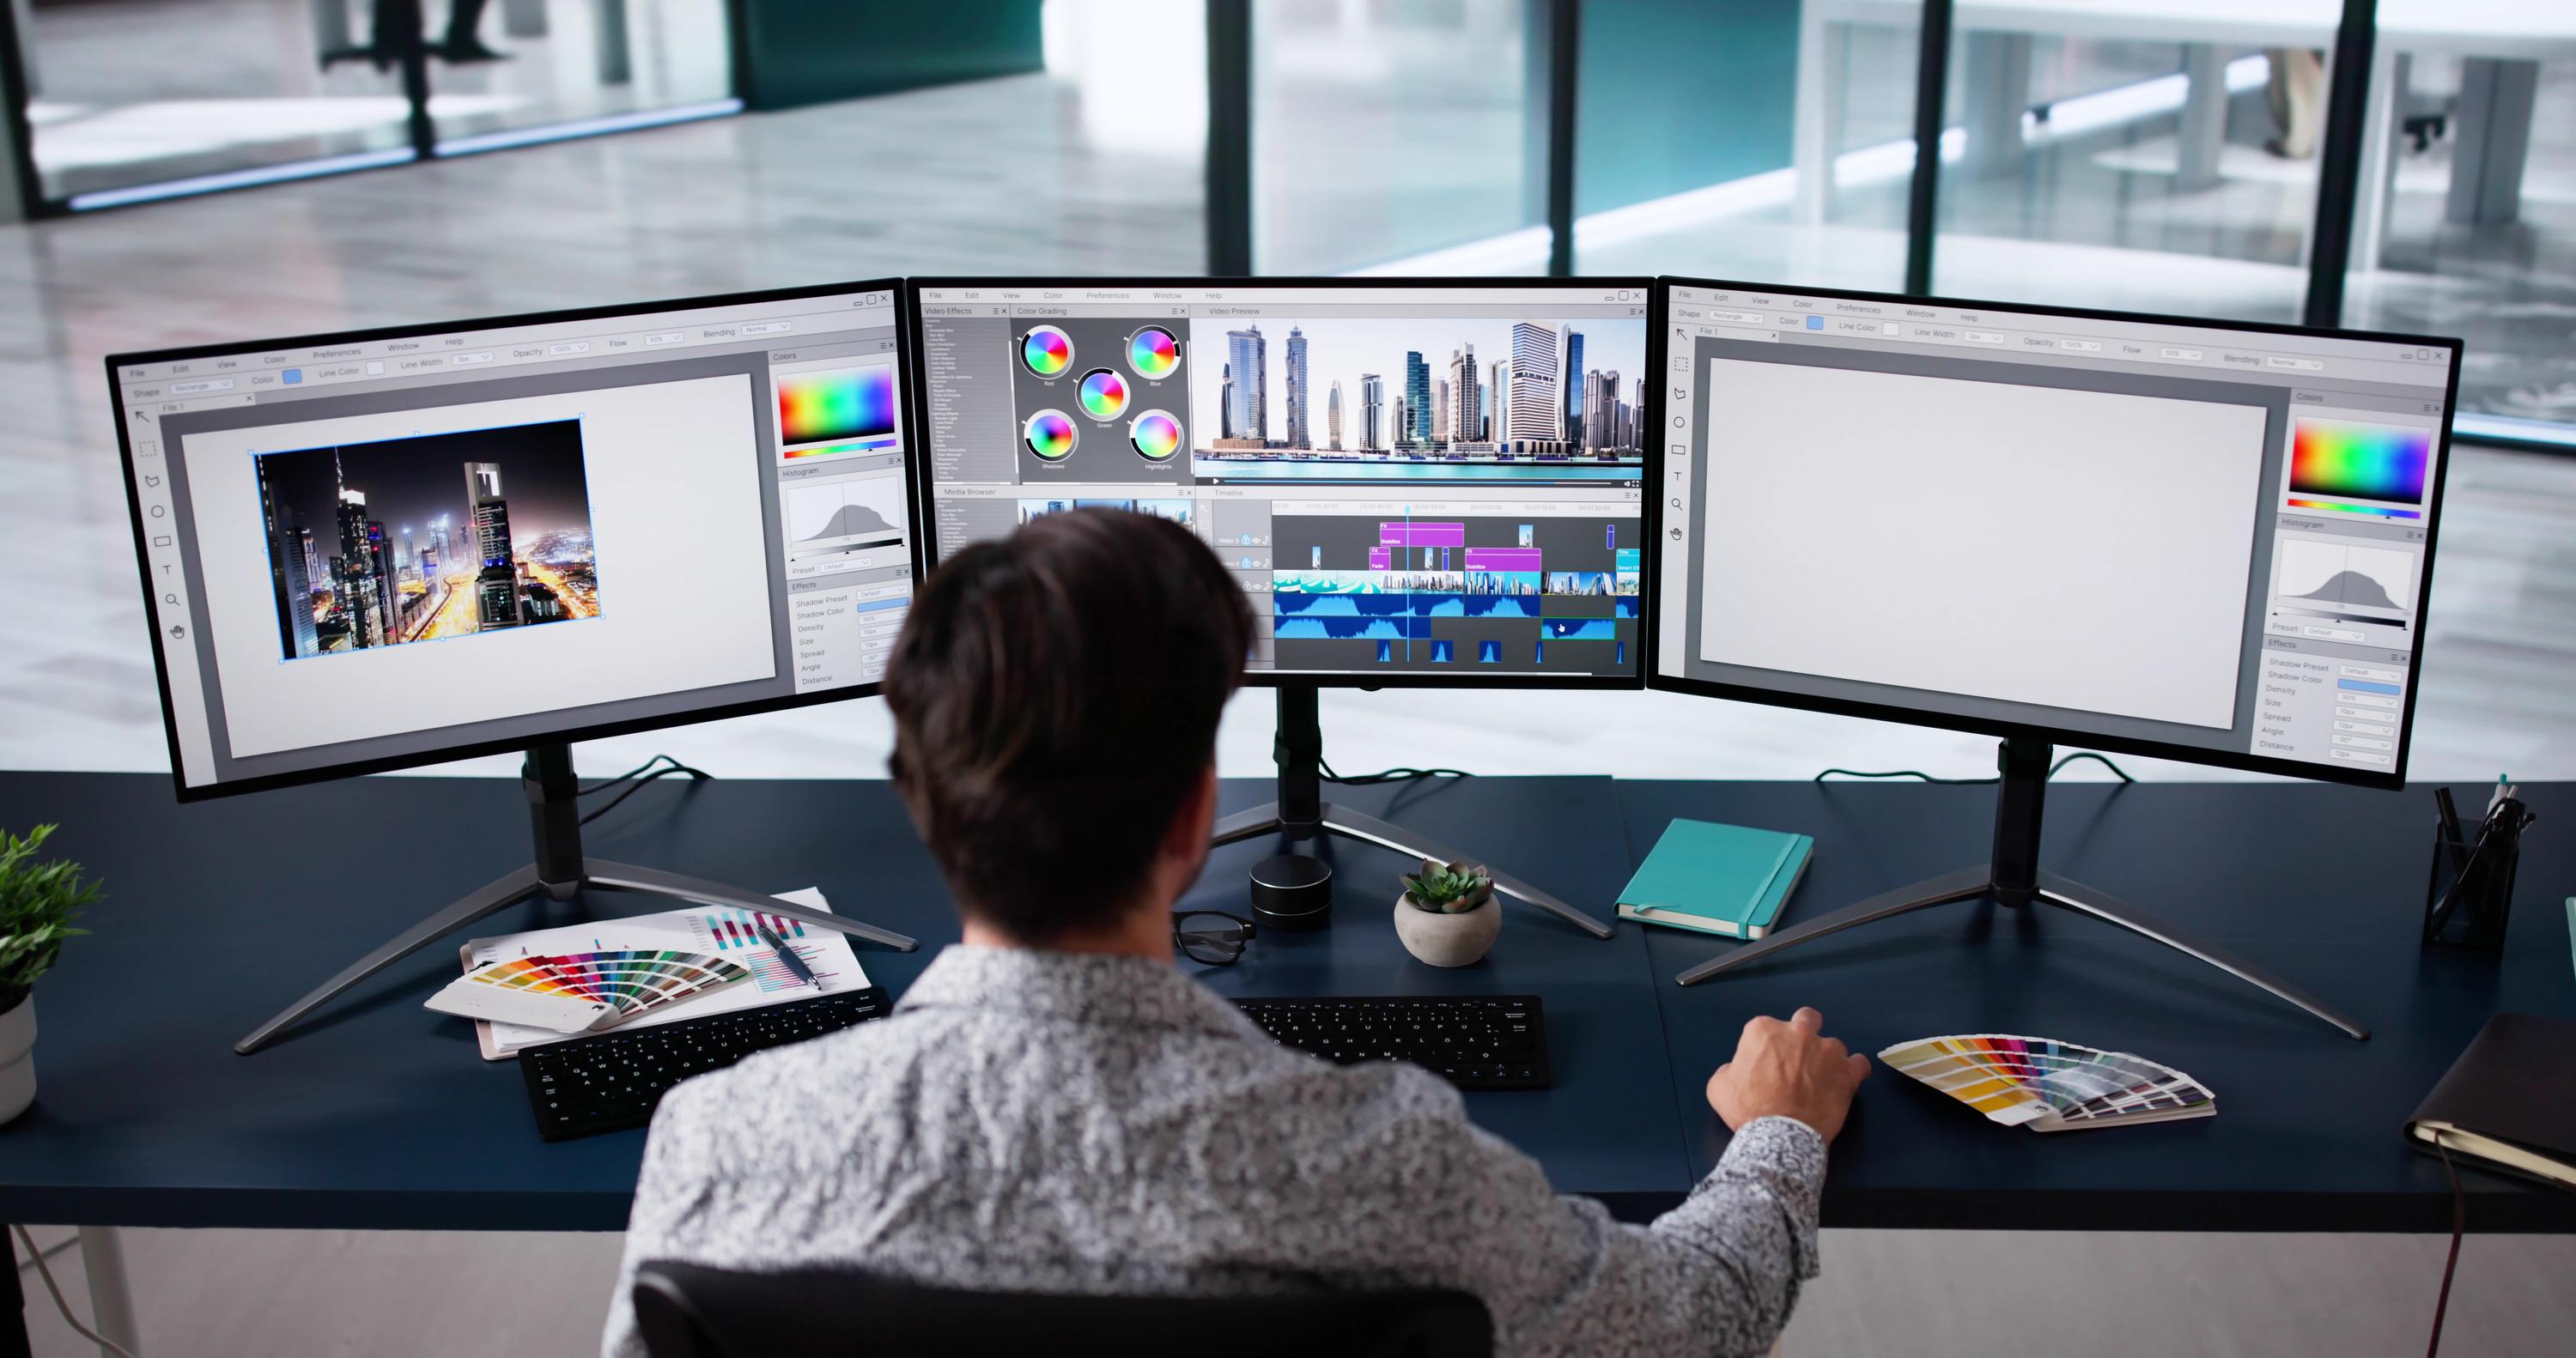
Dimensions play a huge role in print success. A few tweaks here can save you from costly errors later.
Bleed and Safe Area Explained
Bleed refers to the extra space around your artwork that gets trimmed off. It ensures no white borders after cutting. Safe areas are the zones within your design where critical elements (like text) should stay to avoid being cut off.
For most prints, a 3mm bleed is standard. Always add this to your dimensions when setting up your file. This little extra space helps your business cards and leaflets look polished and professional.
Roller Banner Artwork Size Tips
Getting the size right for roller banners is essential. They often have specific dimensions, and mistakes here can lead to crucial info being cut off.
Ensure your artwork fits within the specified size, considering both the visible and non-visible areas. This will keep your brand message clear and impactful during events. Visit this site for more detailed insights.
Custom Packaging Printing in the UK
Packaging involves more than just a pretty design. It requires precise measurements to fit your products perfectly. Custom boxes need to accommodate not only the item but also any protective inserts.
The right dimensions ensure your package is both secure and appealing. Think of it like wrapping a gift: the better it fits, the better it looks.
Perfecting Finishing Touches
The details at the end can make or break your print job. Here’s how to nail them.
Outline Fonts and Vector Logos
Converting your text to outlines ensures that fonts won’t change when printed. This step prevents the printer from substituting fonts if yours aren’t installed on their system.
Similarly, using vector logos keeps them sharp at any size. Unlike raster images, vectors don’t lose quality when scaled, making them perfect for everything from business cards to billboards.
Understanding Rich Black vs Black
Rich black is a deep, solid black achieved by combining all CMYK inks. It’s great for large areas but avoid using it for text, as it can cause smudging.
For small text, stick with standard black. This small distinction can make your text more legible and professional.
PDF/X-1a and Print Settings
PDF/X-1a is a preferred format for print-ready files. It embeds fonts, images, and colours, ensuring consistency across devices.
Always check your print settings before finalizing your artwork. Confirm everything from bleed to colour mode is correct. A little diligence here saves time and stress later.
Frequently Asked Questions
What is the best format to save artwork for printing?
PDF is the most reliable format for printing. It preserves your artwork’s quality and formatting across different devices.
How can I ensure my colours print accurately?
Ensure your design is in CMYK mode. This colour setup aligns with most printers and prevents unexpected colour shifts.
What is the standard resolution for print-ready files?
300 DPI is the standard resolution for high-quality prints. Lower resolutions may cause blurry images.
Why do I need a bleed in my design?
Bleed ensures your design extends beyond the trim line, preventing white edges after cutting.
How do vector logos differ from raster images?
Vector logos are scalable without losing quality, making them ideal for both small and large prints. Raster images can become pixelated when resized.

